When you click on links to various merchants on this site and make a purchase, this can result in this site earning a commission. Affiliate programs and affiliations include, but are not limited to, the eBay Partner Network.
Navigation Display Screen Wire Diagram / Help Identifying Navigation Wires
I recently / am in the process of replacing the navigation display screen with an after market screen. I'm hoping for some help identifying the wires in this harness (picture from top harness of navigation display screen 2015 RDX). Specifically I'm looking for what colors are the following wires in this harness:
1.) Ground
2.) ACC 12V
3.) Constant Power 12V
4.) Illumination Dimmer Wire (for screen dimming when lights are activated)
5.) Reverse Trigger Wire (I actually have this identified in the stereo harness below this, but was trying to figure out if the reverse trigger wire is also available in this harness directly.
Thanks for any help you can provide identifying the wires in the harness.
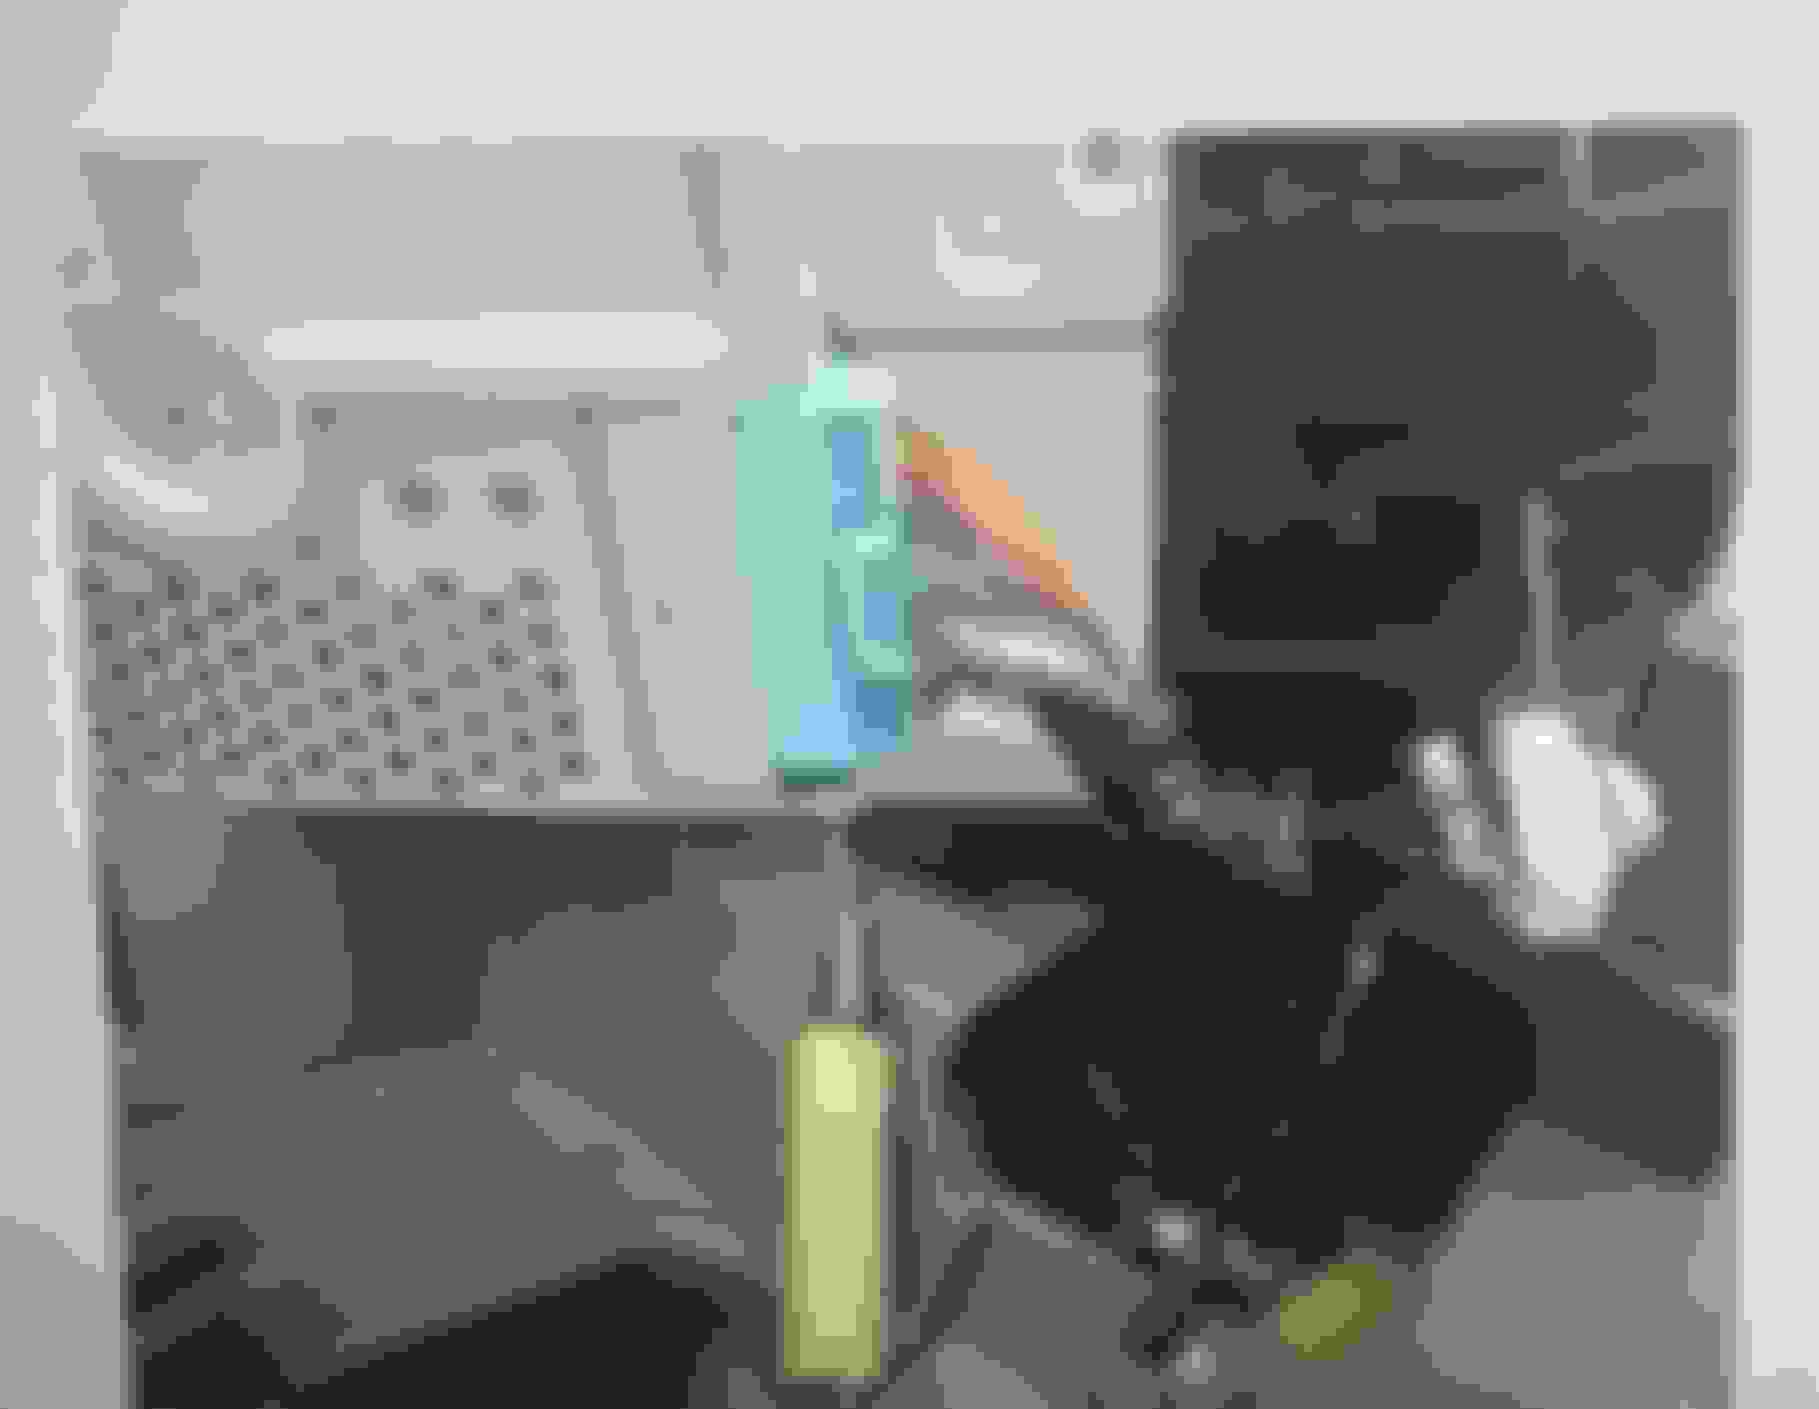
Thank you so much for taking time to post this diagram. Helped me get my custom setup up and working! Appreciate your time and help. Attaching picture of my custom mod 2015 RDX
😎
You are welcome. Can we get links to purchase everything that was installed?
Well, this was a long an extensive project, a labor of love. Started as just the bottom screen then the top not working bothered me so decided to find a way to have both. Here are all the items purchased:
- 4gig ram 64gig hard drive - Amazon - (must measure 228mm x 130mm x 218mm to fit the fascia adapter) - there are many variations that are cheaper that will also fit, just has to be this fit/dimension for fascia
Be sure to pick yourself up a good set of wire crimper and wire cutter/strippers along with some heat shrink connectors. Biggest pro tip that makes it easier to install second screen and aftermarket reverse camera (which I had to do, couldn't figure out how to get stock backup camera to work, had to put in an RCA camera that came with the Tesla style unit) is to also use the Posi-tap tap connectors so you don't have to splice wires, just tap into them to connect, so much easier and secure.
Essentially what I did first was order the Tesla style head unit. Took like 2 weeks to get to me from China. You have to take out the entire Stero / Center Console Module. There's some good YouTube videos out there I can post a few on here too. That's the biggest pain. Then once you have that all out and disconnected, you have to manually unscrew the 2 front vents and hazard button into new Tesla screen. It comes with a harness that is pretty much plug and play, except you have to connect the blue amp wire to the stereo wire to get sound (actually an easy posi-tap connection). Again, had to completely re-wire reverse camera with an aftermarket one and remove the OEM one.
The thing is, once you put in the cool Tesla style head unit on (which works really fast and has both wireless android auto and apple CarPlay), the top screen doesn't work. I thought this looked dumb and it annoyed me. Also at night, the screen would still glow very lightly so it was "on" just not doing anything because it was disconnected from everything now that OEM head unit was out. I also didn't like the glare that sometimes hits the Tesla screen on sunny day when trying to use reverse camera from Tesla style module (it worked great and was cool, but I missed the top screen reverse camera like OEM).
So I ordered a second Android screen and the fascia determined to make both work.
I took out the OEM top navigation screen, used the fascia adapter from AliExpress and screwed in an installed a the second, 9 inch Android screen. I connected that to the top harness for power, reverse, and illumination manually with t tap connectors--no harness. You also have to be careful and disconnect airbag sensor, unscrew it, and screw it on to new fascia and connect that when finished so you don't get an airbag sensor error. I do not have sound connected on the top screen on purpose--the Tesla stye screen is my multimedia center. I use the top android screen with real dash for statistics while driving and I used an RCA y-splitter (2 male one female), so that both android head units have access to the backup camera. I only use the top screen of my reverse camera though, I turned it off on the Tesla style head unit in the settings because I like it better on the top screen where it's covered from glare and used to be like OEM.
Took me a month, a ton of research, trial and error, and man hours. But at the end of the day it all looks great and everything is working (including steering wheel button control, audio, phone calls, HVAC, backup camera, etc).
I'm going to buy a bluetooth OBD2 connector from amazon and pair it with the top android screen so it gets real time data for Real Dash. That's the plan anyway.
Here are some videos that helped me figure out how to remove and install everything.
(this was a great video for removal, he uses an AUX stereo head unit so that's different, but a lot of similarities and good tips plus backup cam install)
As stated in my post above, I had to use an aftermarket camera. I could not get the stock camera working. Pretty sure only an aftermarket camera with RCA plug output works (like most on the market). The head units both came with a replacement camera. This was the biggest pain of the project.
Very impressive work, and good detail for those who want to make it work as you did. If I were a little younger, I would do this, but at my age, I don't have the patience that I used to have.
RFT!!!
Dave Kelsen
--
There are only two types of people I hate; Those that are intolerant of other people's cultures, and the Dutch.
Everything works as it should. A few notes for the way I set it up:
The Tesla style unit has the following controls connected (all through a harness that was included and plugs into factory cables):
Climate Control
Steering Wheel (the media buttons all work/are programable (volume +/- Skip back and forward, and mute), but the phone call buttons are not programable and not useable as they were specifically connected to the bluetooth link which is no longer used) so that is something to take into consideration; Head unit has Siri built in with a microphone now so can't see myself ever needing the old school phone call buttons anyway.
Backup Camera (I have it connected but turn off from the Tesla unit)
CarPlay (I use it for my media center, music, Spotify, phone calls, texts, etc)
Video apps through the Android play store (Netflix etc.)
Illumination
9 inch Android unit (all wired using t-tap connectors by hand, no harness)
Backup Camera (I prefer it on the top screen)
Illumination
Power
Real Dash w/OBD2 bluetooth connector for real time speed, gear, engine stats, ect.
That's the way I have it setup and very happy with it.
 04-11-2024, 07:31 PM